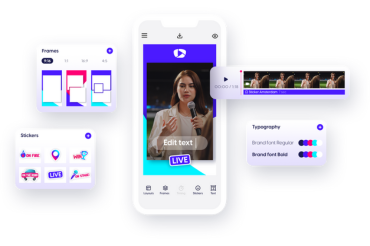
In this guide, we’ll show you how to set up your CREATE App environment and start creating and sharing branded content from your mobile phone.
Step 1: Access your CREATE App environment
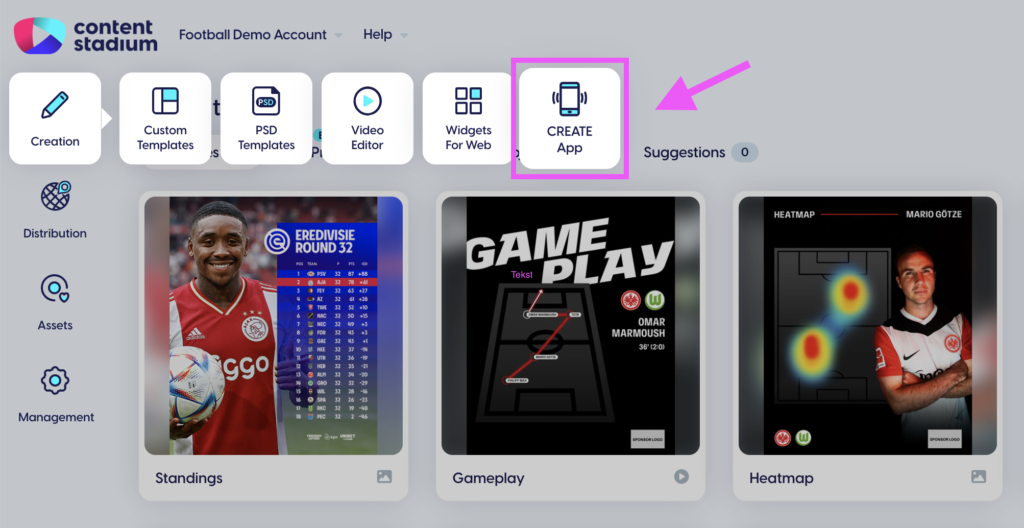
First, log in to your Content Stadium account. Go to Creation in the menu on the left side of your screen, then select CREATE App.
Step 2: Upload your branded assets
You can customize the CREATE App with your organization’s own typography, stickers and frames. These elements will be available to everyone using the CREATE App, making it easy to create content within your visual identity.
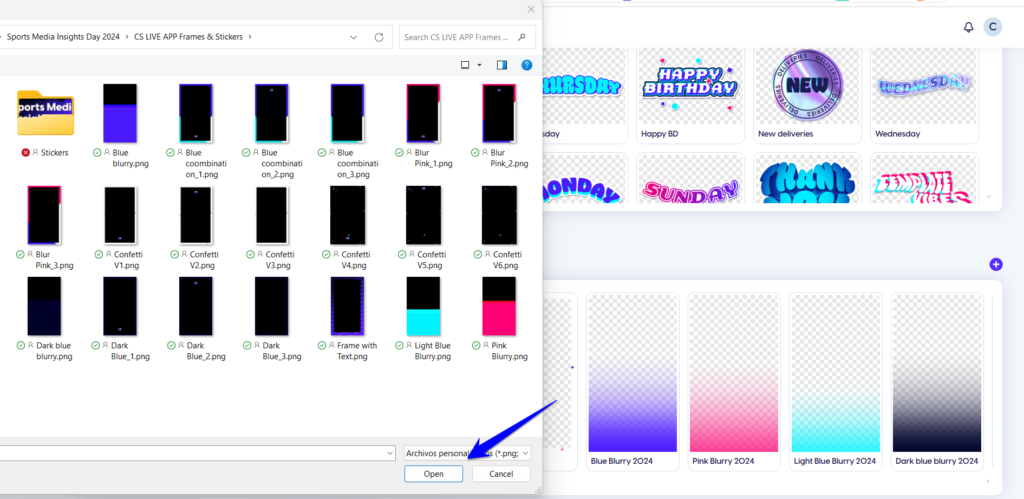
To add new elements, click the + icon in the relevant section or drag and drop your files directly into the platform.
Typography
Add your brand fonts and text styles to make sure text follows your visual identity.
Stickers
Upload branded graphics, sponsor logos, campaign elements or other stickers that users can add to their photos and videos.
Frames
Upload pre-designed frames for the different formats available in the app, such as 9:16, 1:1, 16:9 and 4:5.
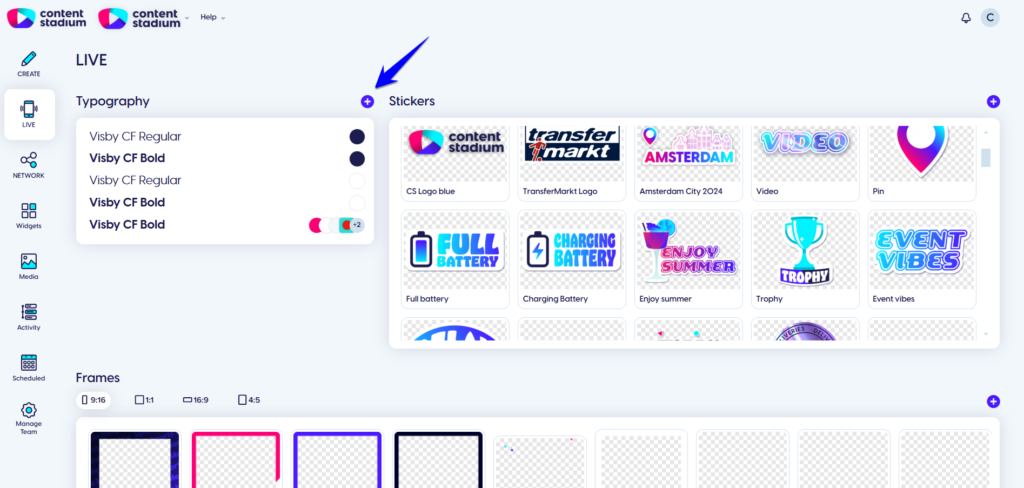
Once uploaded, these elements become available in the CREATE App for your users to apply when creating content.
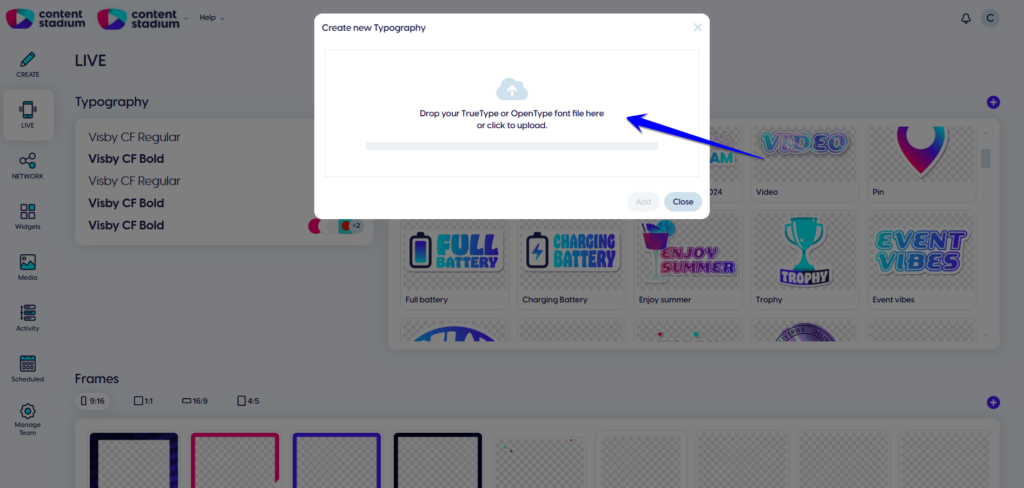
Repeat the same steps to insert stickers, by simply clicking the + icon on the right side of your screen.
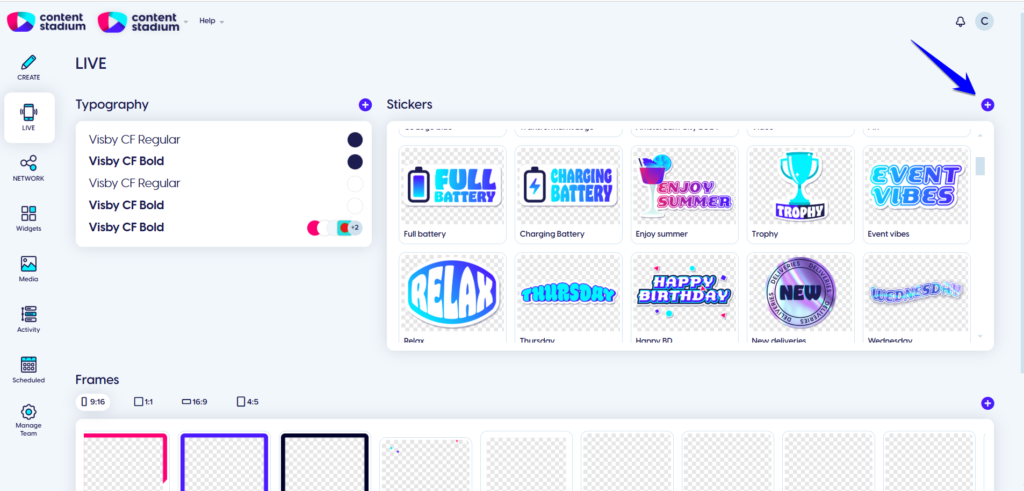
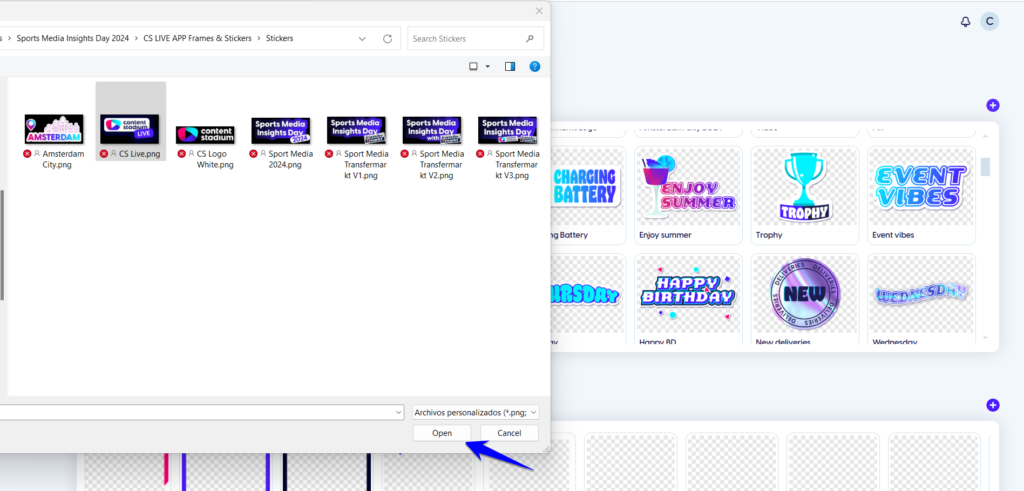
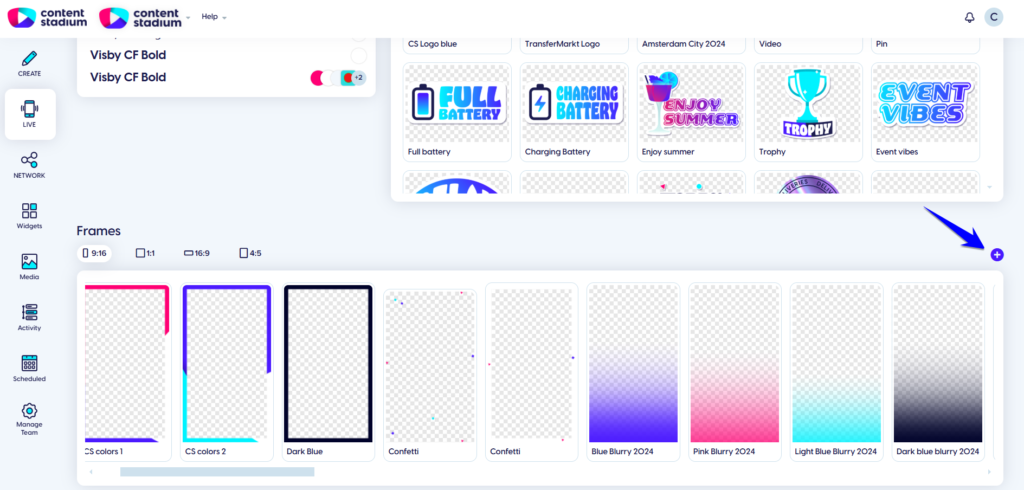
And then, in order to add branded frames, click the + icon at the bottom of your screen.
Curious about how to create your own branded frames? Download this step-by-step guide, where we walk you through everything you need to know!
Step 3: Download the LIVE app
Search for Content Stadium LIVE on Google Play or the App Store and download the app directly to your device.
Step 4: Start using your LIVE app
Once you’ve downloaded the app and uploaded all your branded assets, you’re ready to start creating content.
- To get started, tap the pen icon in the bottom-right corner of the app to begin. Open your camera to capture real-time content or upload a photo or video from your gallery.
- Then, choose the layout of your story and decide whether to use one of your branded frames. Depending on your selected layout, you can combine multiple photos and/or videos into a single story.
- You can also add your branded stickers (which you previously uploaded in the studio).
- Finally, you can personalize your content further by adding text in your branded fonts.
Step 5: Post directly to your social media feeds, reels and stories
Once you’re satisfied with your final image or video, you can either download it to your phone or publish it directly to your social media stories, reels, or feeds, all from within the app.
Got more questions?
Reach out to your dedicated Customer Success Manager for more assistance.